
Moving the mirror while driving is not something uncommon, and most drivers have very likely encountered this type of problem. You don’t need to be worried about it, because the good news is that this kind of problem can be easily fixed.
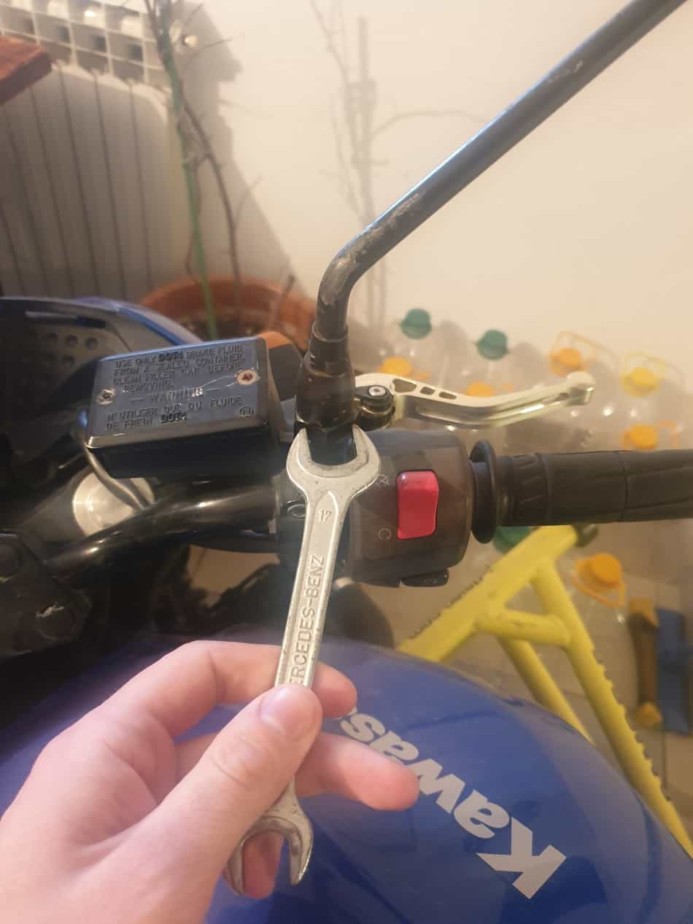
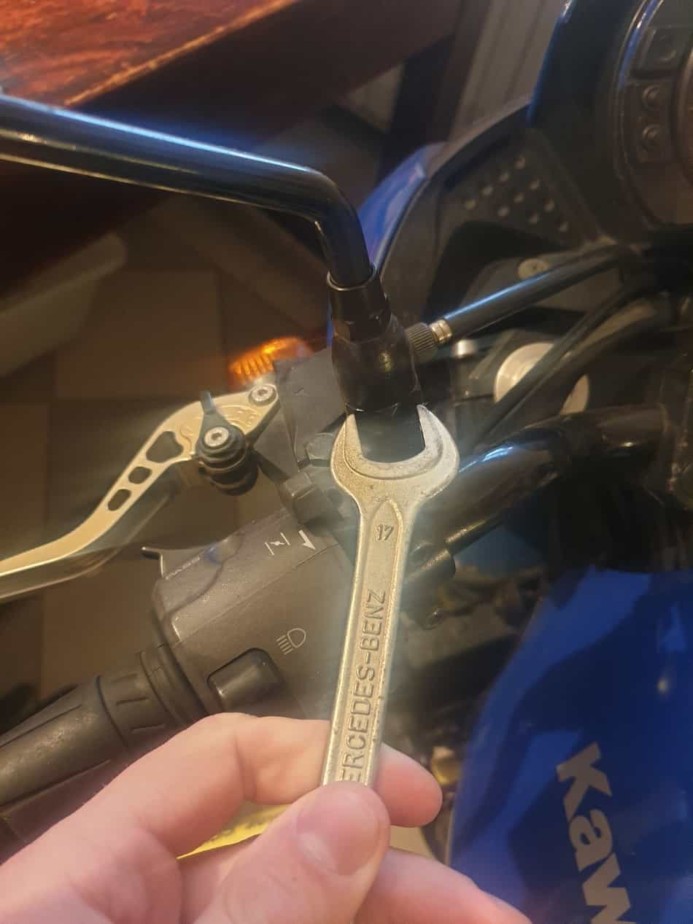
So, how to fix a motorcycle mirror? The mirrors must be placed in a way that you are able to see as much of your background as possible. Use a wrench to tighten the loose mirror. Don’t tighten up the mirror too much because you need to be able to correct it all the time during a ride.
You can see that fixing a mirror is not something special to do compared to other problems that can appear on your motorcycle. Still, as in all other motorcycle features, this one also has its characteristics that we will further explain in this article.
If you wish to learn more, please continue reading.
Table of Contents
Determine If the Mirror Is Loose?
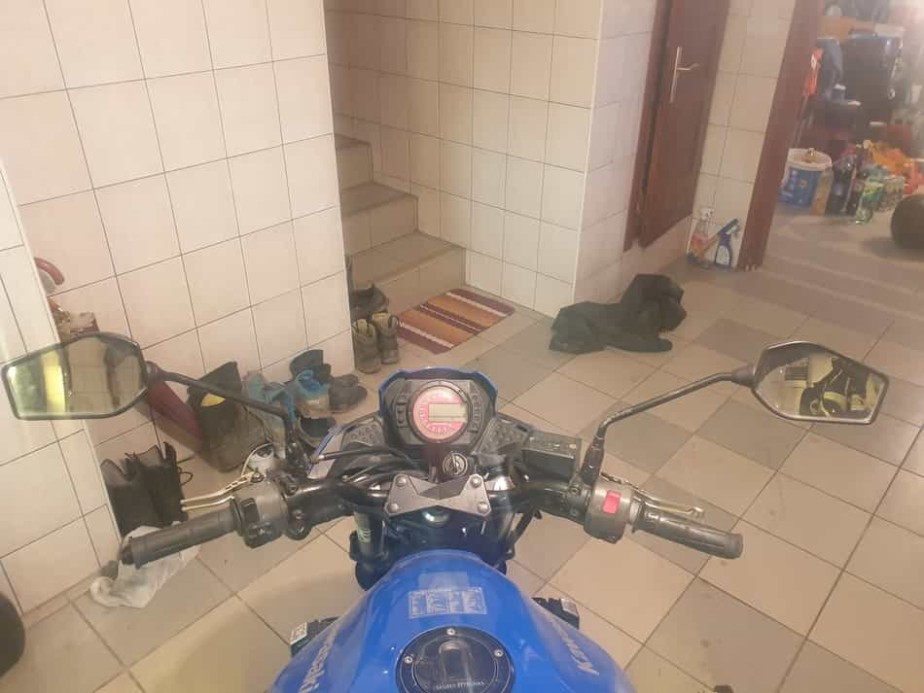
So you decide to take a ride, and soon while riding, you see that your mirror is not enabling you a clear view of your background. The reason for that may be that you accidentally moved your mirror while your bike was parked in the garage, or someone else may move it in a public garage or parking.
You have finally fixed the problem and continued the ride, but have you really fixed it? As you ride, your mirror continues to move all the time, which leads you not to be able to see your background, and you constantly need to readjust it.
If you are on a longer ride, this readjustment may repeat a few times, which will signal that your mirror is loose and you need to tighten it.
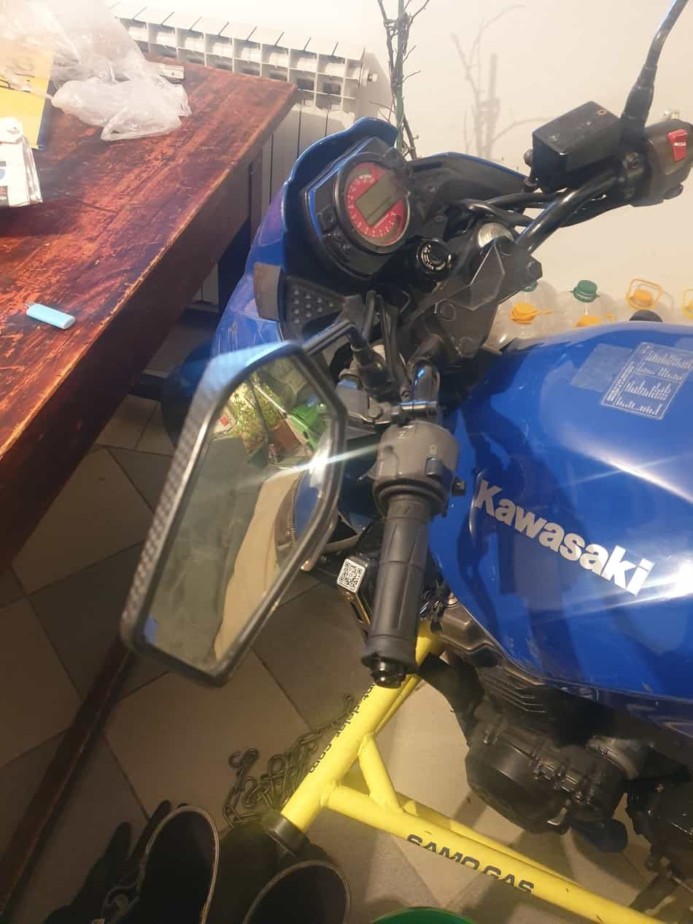
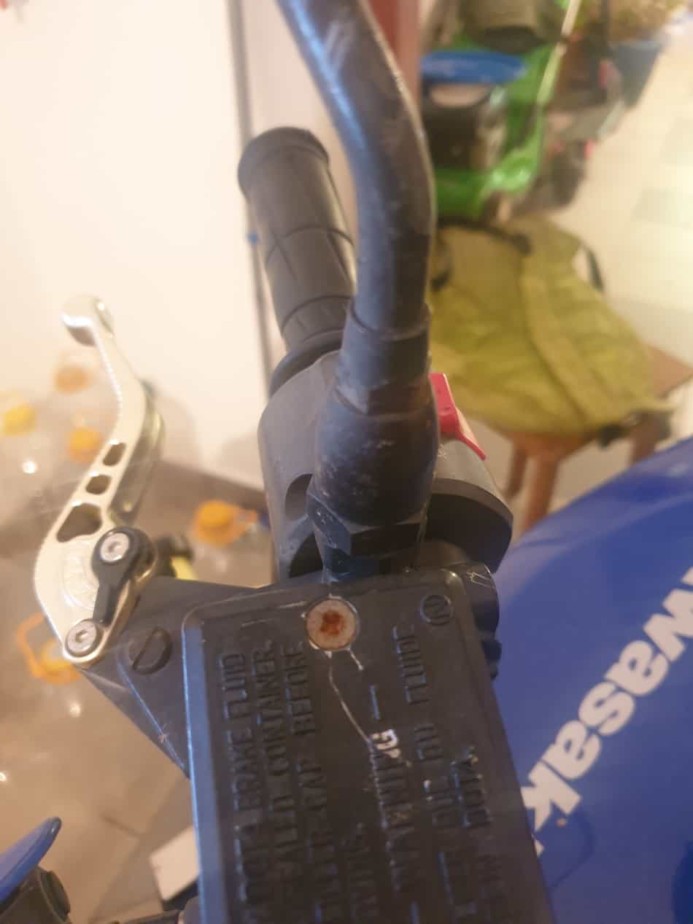
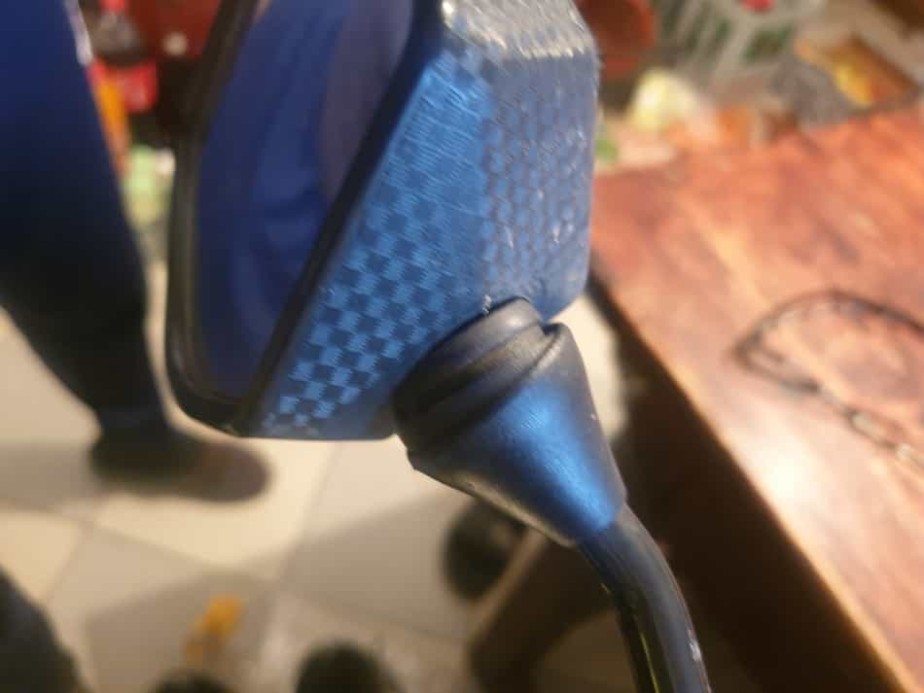
I had a situation like this, and I thought I would need to change the mirror. Look at the ball socket in the mirror.
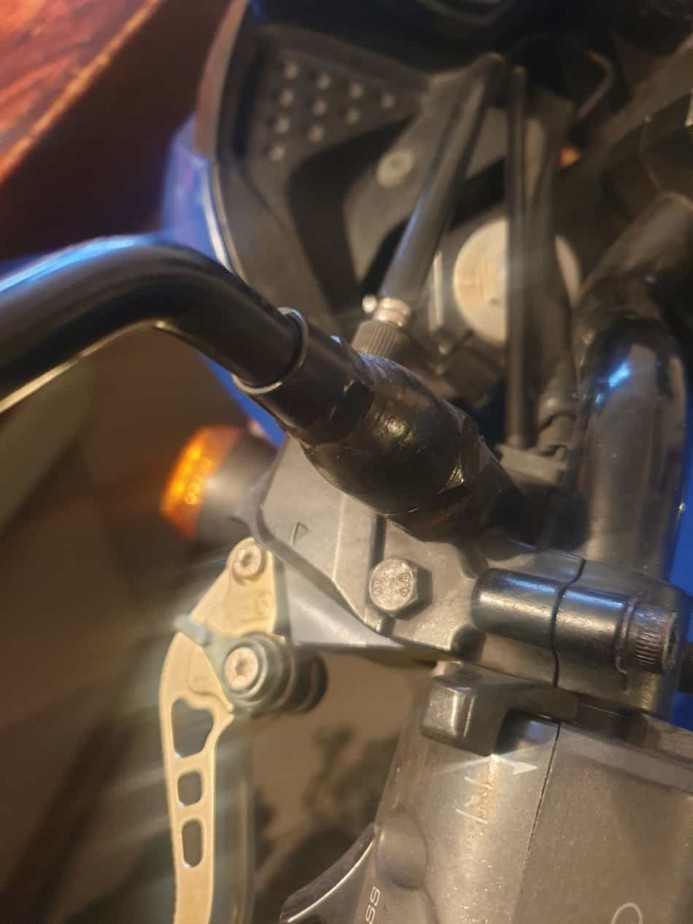
The first thought that came into my mind was that I needed to tighten the mirror harder.
Since my Kawasaki Z750 is an older motorcycle as it is a 2004 model and I made some adjustments on it, which causes more vibrations than it was before these adjustments, it all made me think that these could be the reasons responsible for my mirror problems.
How to Adjust Motorcycle Mirrors?
Your left mirror needs to be adjusted in a way that allows you to see all the vehicles that can overtake you from behind, so this means that the left mirror’s primary function is to signal you if some started to overtake you, this is vital for you to evade crashes and avoid other vehicles to bump into you.
On the other hand, the right mirror gives you a bigger view of the picture behind you so you can prepare for any upcoming vehicles further in the distance.
Step 1. Get Motorcycle Mirrors (Original One or “Fancy”)
Look for mirrors that would fit my motorcycle but at the same time look fantastic, or as we popular call it, “fancy”, and the price would be acceptable. You can find a lot of nice and cool-looking mirrors on sites such as Revzilla or JP Cycles. The cost varies from 50-150 $.
Take time, and don’t rush when ordering your set of mirrors. Make sure that the mirror you are ordering fits your motorcycle model, so you don’t waste your time when you figure out that the mirror you ordered doesn’t fit your bike, and you have to return it to the shop and wait for the new one to come. This will not only waste a lot of your time, but your energy, and possibly extra money too.
Step 2. Adjust a Motorcycle Mirror Correctly
Placing and positioning your motorcycle mirror is one of the most vital aspects of a safe ride, and most of the time, it is very underestimated. Many riders don’t take time to inspect if everything functions correctly.
Not positioning it correctly can result in not seeing someone driving behind you fast, and if you decide to slow down intensively or even stop, this can lead to the vehicle behind you crashing into you, which can result in you ending in the hospital or even worse.
Step 3. Position the Motorcycle Mirrors
Sit on your motorcycle and adjust the mirrors. Place both of your hands on the handlebar because you simulate a riding scenario and look into your mirrors. What can you see when you look into the mirrors? Is the view satisfying and large enough?
Both of your sides should be seen in the same scale on the inside of the mirror. Make sure that your shoulders are not the main picture in the mirror (after all, the background is the main scene that should be seen in the mirrors).
Step 4. Tighten the Right Mirror
As we mentioned previously, position your right mirror to see a broader picture of your background. The view on the right mirror is broader in comparison to the view you see on the left mirror. You should be able to see a small part of your right shoulder while the rest covers most of the background; you should see the left side of the road farther back.
The right mirror is the most important one in countries such as the UK or Japan, where the left side of the road is used for driving, which means if someone intends to pass you, they will have to do it using the right side of the road.
Step 5. Tighten the Left Mirror
Because we pass and overtake vehicles on the left (this is the case in the US and most of the world), the left mirror has a bigger meaning than the right one. This may vary from countries such as the UK where vehicles drive on the left side of the road and in this case the right mirror is the most important one.
Place the mirror, so you notice the vehicles that can come from behind you to overtake you. You must be able to notice what is going on in your background and on the left side of the road.
Caution: There will be blind spots that your mirror won’t cover entirely, which means that you will have to turn your head to see if someone is in the blind spot that is not covered with the mirror.
Step 6. Tighten the Mirrors
After you have adjusted your mirrors and made sure that you see your background correctly and as much of it as possible, one last step that needs to be done is to tighten the bolts.
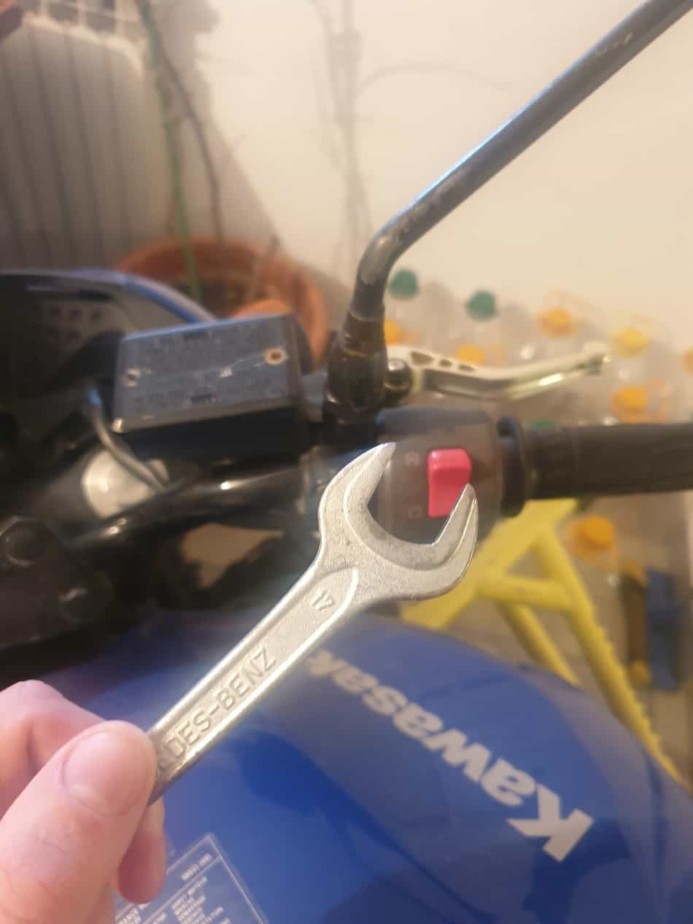
Loctite on the bolts can be wise since the bars can vibrate a lot (my Kawasaki Z750 has stunt bars on the sides, so it creates a lot of vibrations that could loosen the mirrors, that is why Loctite can be handy). You wouldn’t like the bolts to unscrew or loose over time.
Tip: Safety check your mirrors before every ride and make sure they are tight and positioned correctly.
Step 7. Check the Mirrors
Take your motorcycle to some unused road or abandoned parking and position yourself that you can see cars or any other objects behind you. This means that you will have to move your motorcycle to a few different angles and notice what is seen in the mirrors.
Note: Adjust your mirrors as long as you don’t get the perfect back view.
Here is an excellent video that can show you How to check if your mirrors are adjusted correctly:
Conclusion
Motorcycle mirrors are used for checking your background and noticing if any vehicle is trying to pass or overtake you. Keeping them in a proper condition is very important because it gives you a clear picture of your background. Based on that, you can position your motorcycle correctly and act if you notice any unusual or even dangerous situation going on behind you.