
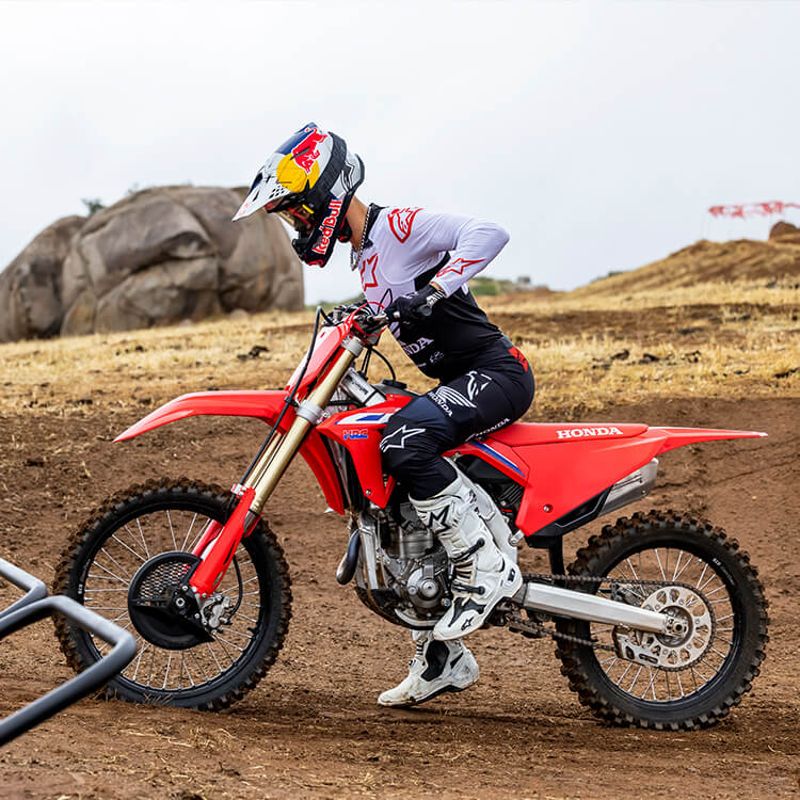
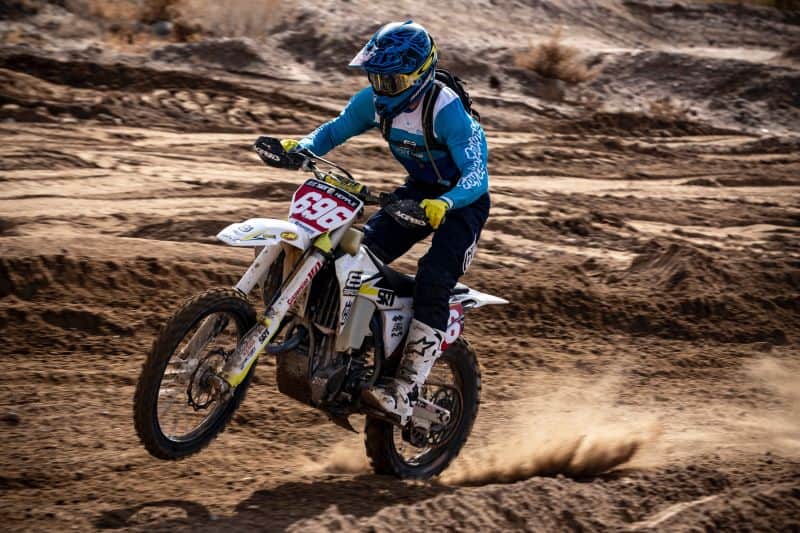
One of the most elementary maintenance procedures is cleaning your dirt bike. The bike will look nicer and “survive” longer if you wash it properly. Since cleaning a dirt bike considers a technical skill, there are proper and improper methods.
So, how do you clean a dirt bike? In general, the first thing you need to do is remove the most delicate dirt bike parts like the seat and protect the ones that can’t be removed. After you do that, you can use a pressure washer to clean your bike. The best way to clean your bike is to use a sponge and carefully clean the entire dirt bike.
The tips below can help you avoid damaging your motorcycle:
Table of Contents
Take out And Safeguard the Most Delicate Parts
Before exposing dirt bikes to water, various precautions must be taken. It is only essential to detach and cover some components of the bike because streams of water will be directed at it. These components consist of:
- Air Filter: The very last thing that the air filter requires is water, thus it is in your best interest to recover it ahead of time.
- Seats: The interior foam of the seat will absorb liquid like a sponge and become ruined as it degrades. To stop the shrouds from swaying, make sure you tighten the seat’s bolts. Use the Simple Green Cleaner and a brush to clean the seat if necessary.
- Skid plates, pipe guards, and bark busters: While they won’t necessarily be destroyed when you wash the bike, these pieces will prevent some of the unclean parts from being cleaned. Debris, grease, and filth need to be removed from these sensitive locations immediately to avoid more problems.
- Muffler: Wash plugs are often used as mufflers; however, there are various options that are more economical and that will secure the engine. Some examples of these alternatives include duct tape and a sandwich bag secured with a strong rubber band.
- Airbox: Even after retrieving the air filter, the airbox needs to be covered. Some riders cover the bike’s openings with duct, while others employ a genuine airbox cover. Whatever approach you want, just make sure the airbox is covered.
Water It Down
Cleaning comes next once you have implemented the precautionary steps. Some would suggest that you utilize pressure washers, but that is not a smart course of action. They will complete the task quickly, but they run the risk of harming your dirt bike.
Pressure washers can force water into your dirt bike’s delicate regions, which will cost you a lot to fix. They might be powerful enough to damage the plastic and artwork on your bike. When using a pressure washer, it is simple to get overexcited because the dirt and debris are so easy to remove.
If you want to know 13 World’s Fastest Dirt Bikes?, click here.
Use caution when using a pressure washer, especially close to the engine. Be far enough away from your bike to prevent it from being pushed off by the pressure. Use the power washer on the motorcycle’s plastic and tires before turning it down or switching to a regular hose for the more sensitive components.
PRO TIP: The safer method for cleaning a dirt bike is with a hose equipped with a spray nozzle. Avoid aiming the water stream at sensitive parts of the machine, such as the exhaust, airbox, or carburetor, while you rinse it clean.
The muck and grime that are smudged onto the motorcycle should come off with some honing. Because you’ll be pointing the dirt bike cleaner over heavy muck at this point, it is worthless to include one.
Start behind the mudguards if you have been on muddy terrain because here is where the majority of the muck tends to collect. Deal with the bike from end to end after reaching the exhaust.
At this point, the majority of the dirt will wash out, but the bike still needs attention.
Clean It Up
It is now time to start scrubbing after the dirt has been removed. Bike brushes are useful for removing dirt and filth that won’t come off your vehicle. Concentrate the brushes on areas like the swingarm, chain, wheels, and sprockets where dirt collects.
Spend enough time on these spots because buildup often leads to later difficulties. Remember to clean the underbelly of your dirt bike because dirt fragments like to collect there.
Note: Before proceeding to the next step, inspect your bike to make sure the majority of the dirt has been removed. To keep the buildup from sticking, you can respray it with clear water. You can explore the brush set that best suits your requirements because the brushes are in kits.
Sponging
Afterward, a soapy solution is used. Dish soap and water can be combined, and the mixture will work. The type of terrain you ride your bike on will influence the grade of soap you choose to use. The kind of filth that has adhered to your bike must be capable of being removed by the soap.
If you want to know Dirt Bike vs ATV- Which Is Better? (What You Didn’t Know), click here.
Combine the substances thoroughly to form a lather in a large bucket. You should apply it to your motorcycle’s larger blemishes, and you can use a wash mitt, sponge, or soft brush. In confined spaces, mittens and sponges may not be effective.
Give the bike a thorough cleaning and allow it to sit for around two minutes so that all of the dirt is removed. Lather carefully to avoid getting it in any delicate regions. Use water to clean the motorcycle.
Utilize the Bike Wash
You can apply some bike wash to the tight spaces if you feel as though not all of the dirt has been removed. The sprockets, framework, chains, and the engine may all be cleared with the remedy. If you want your bike to shine, a bike wash is also vital because it will remove any last bits of dirt and debris.
If you want to know Top 10 Off-Road Dirt Bikes (Things You Didn’t Know!!!), click here.
After applying the bike wash to the desired places, let it sit for a couple of minutes. Clean the bike by scrubbing it with a gentle brush. Make sure the various areas are free of both dirt and the bike wash.
Note: Some individuals will spray the bikes down once again. Just make sure that the bike wash did not go on the brake pads or other areas where it should not have been.
Dry the Motorcycle
Your motorcycle should be clean of any mud residues at this point. You should get a towel that is clean and dry, and you can use either cotton, terry cloth, or microfiber. The majority of the water may be effectively absorbed by terry cloth, and any lingering dust and dirt can be picked up by a microfiber towel.
If you want to know Top 10 Best Dirt Bikes for Beginners (WITH REVIEWS), click here.
For the lower fork legs, microfiber works well. Compressed air is an option for smaller, more difficult-to-reach spaces. Compressed air will speed up the drying process and stop the growth of mildew and rust on your bike.
Note: As you dry your bike, check the cords because it is simple to overlook them. If water has gotten into any sections of your bike, you can start your motorcycle and run the engine for a couple of minutes to warm it up and let the water evaporate.
Maintain the Chain
Pay close attention to the chain when cleaning a dirt bike. Scrubbing it and drying it with compressed air come first. Add some chain lubricant when it has dried completely.
If you want to know The Top 5 Two-Stroke Dirt Bikes, click here.
Recover it and submerge it in a gentle solvent if you wish to treat it with the utmost care. Apply a brush to any remaining dirt. Before spraying the chain lubricant, let it dry completely. Place the motorcycle’s chain back.
Reassemble the Dirt Bike
It’s time to put your dirt bike back together after giving it a thorough cleaning. In order to protect the engine, you may have repaired tapes or plugs.
Crucial Areas to Professionally Clean
When washing your dirt bike, there are some important spots that require special care, such as the fork adjusters. Move the footpegs and lever tip when cleaning the shift lever and footpegs so that you can get all of the dirt out of the springs.
If you want to know The Top 5 Enduro-Dual Sport Motorcycles, click here.
You should be sure to thoroughly clean the chain because accumulated dirt residue will cause it to wear out. Pay close attention to the section below the fuel tank and the shock bumper.
Additional Cleaning Advice for Dirt Bikes
Here are a few other suggestions to help you clean your dirt bike more effectively:
Let the Bike Cool Down
It is not a good idea to immediately spray the bike with cold water after riding it since cold water and hot metal do not mix well. Unexpected temperature changes can ruin metal components or their finish, and fixing this will be expensive.
At this point, you might be asking about metal hardening. This method strictly adheres to predetermined guidelines regarding the initial temperature and cool-down. Simply explained, cleaning a bike is a simple and straightforward activity whereas hardening metal parts is an industrial process that is based on science.
There is absolutely no connection between the reactions that occur throughout the hardening process and how you wash your dirt bike.
Note: In extreme circumstances, your engine blocks could possibly shatter, or their finish might be harmed. The coating of the hot pipes as well as their integrity are in jeopardy. After you have finished riding your bike, you should allow it some time to cool off before washing it.
Prepare the Materials in Advance
Even though washing a dirt bike is simple, it still requires some planning. If you are prepared with everything you require, it is also more pleasant and simpler. A bike stand, wash bucket, duct tape, compressed air, and washing pads are items you’ll need.
Invest in a thorough scrub wash because a normal garden hose will struggle to remove caked-on, heavy mud. Use the brush to clean the bike while you sprinkle water on it. You may even enlist a friend to spray while you brush.
Note: A good bike cleaner will cut down on the amount of time spent washing the bike, and you may use it on all of the important components. Apply it to the swingarm, seats, plastics, handlebars, and frame of the wheels. A degreaser works well on areas where grease tends to collect, such as the chains and sprockets.
In addition to that, you will require protection gear for your bike. Water and debris will be kept out of your exhaust system by a muffler plug. While you wash your bike, an airbox cover is intended to keep your airbox safe.
To start drying your bike, you’ll need a thick towel to soak up the majority of the water. The towels you receive should be soft enough to prevent scratching or leaving spots on the surface. On plastic, a silicone spray polish can be applied to keep dirt from adhering, making your task easier the next washing day.
Cleaning your bike can take a while if all you want to do is remove the thick layers of muck that have stuck to it. Nevertheless, allot extra time to cleaning that needs to be done thoroughly.
Clean the Chain
The inconvenience of regularly maintaining and cleaning your chain comes with dirt bikes. It will be simpler if you do this dirty task before addressing the rest of the bike.
There is a potential that dirt will go onto other sections of the bike if you solely use cleaning products and brushes designed for the chain, but you can always clear this residue off. Using goods made for chain use is a good idea.
Remember to Soak
After a long day of riding, if your dirt bike is covered in mud and grime, it’s best to let it soak in some water. Dealing with a thick coating of mud can be challenging, and it might become soggy. It will be simpler to get rid of, and you won’t have to clean your bike too vigorously, which could damage the finishing.
This procedure won’t work on all types of filth, including grime that collects in places like the front sprocket or where oil or gasoline leaks have mingled with dust to create grime. Some solutions will take on this particular task.
Don’t Scrub Too Much
If dirt still won’t come loose after being washed or cleaned with chemicals, you simply need to be more patient than forceful.
When removing obstinate filth, always use delicate cloths and add more cleaning solutions. The covering of the spot will largely show the effects of excessive pressure. Repainting bodywork is unquestionably far more expensive than using your motorcycle slowly.
Note: Always be gentle when handling a bike.
Conclusion
A dirt bike requires rigorous cleaning, which takes a lot of time and consideration. Before you begin washing, equip yourself with high-quality equipment so that you can remain organized.
Although a dirt bike’s components may be designed for tough terrain, they still require sensitive cleaning techniques to prevent costly repairs.